Project Management for Professional Ionic Applications
Tools, techniques, and processes to manage a professional grade project
Setting up the Project
Creating the basic set up for the application
PROModule Outline
- Source Code & Resources PRO
- Lesson 1: Introduction PUBLIC
- Lesson 2: The Agile Methodology PUBLIC
- Lesson 3: Project Planning PUBLIC
- Lesson 4: Initial Client Meeting PRO
- Lesson 5: Planning and Prototyping PRO
- Lesson 6: Diagrams and Documentation PRO
- Lesson 7: User Stories PRO
- Lesson 8: Project Management Overview PRO
- Lesson 9: Setting up the Project PRO
- Lesson 10: Continuous Integration PRO
- Lesson 11: Cypress Dashboard PRO
- Lesson 12: Continuous Deployment PRO
- Lesson 13: A Change Request PRO
- Lesson 14: Planning the First Sprint PRO
- Lesson 15: Merging with Pull Requests PRO
- Lesson 16: Configuring CI for Firebase PRO
- Lesson 17: Sprint One Review PRO
- Lesson 18: Sprint Two Review PRO
- Lesson 19: Sprint Three Review PRO
- Lesson 20: Conclusion PRO
Lesson Outline
Setting up the Project
We've got the information we need to get things going, now we are going to set up the tools we need to manage this project. First of all, we are just going to create a new blank project:
ionic start refresh-app blank --type=angularAll we are going to be concerned with at this point in time is getting this project pushed to a remote repository on GitHub. Everything we are doing in terms of project management can be set up using other providers/tools, but GitHub provides everything we need for free and keeps everything in one place so it's a nice option to use.
Setting up Tests
The first thing we are going to do is get automated tests with Cypress and Jest set up for this project. You can find the steps for doing this in Test Driven Development with Cypress/Jest module. You will just need to follow the single lesson I linked to and then come back here, but if you need more context on Cypress, Jest, and automated testing in general it might be worth reading the module in its entirety.
Again, although I advise it, if you are not following along with the actual building of the application in the partner module, and you are not interested in including a test strategy in your project management set up, then you don't need to follow this step.
Set up the GitHub Repository
Next, we will be focusing on setting up our GitHub repository. We will, of course, be creating a remote origin to push our local code to, but we will be doing a lot more as well. In brief, we are going to:
- Create the repository
- Setting up a Kanban board
- Setting up automations for our Kanban board
- Discussing a branching and merging strategy
An Overview of the Workflow
Before we get into the specifics of how to implement this, let's briefly discuss the general ideas and concepts behind this workflow.
First, to give you some context, here is a basic overview of the project management process we will be creating:
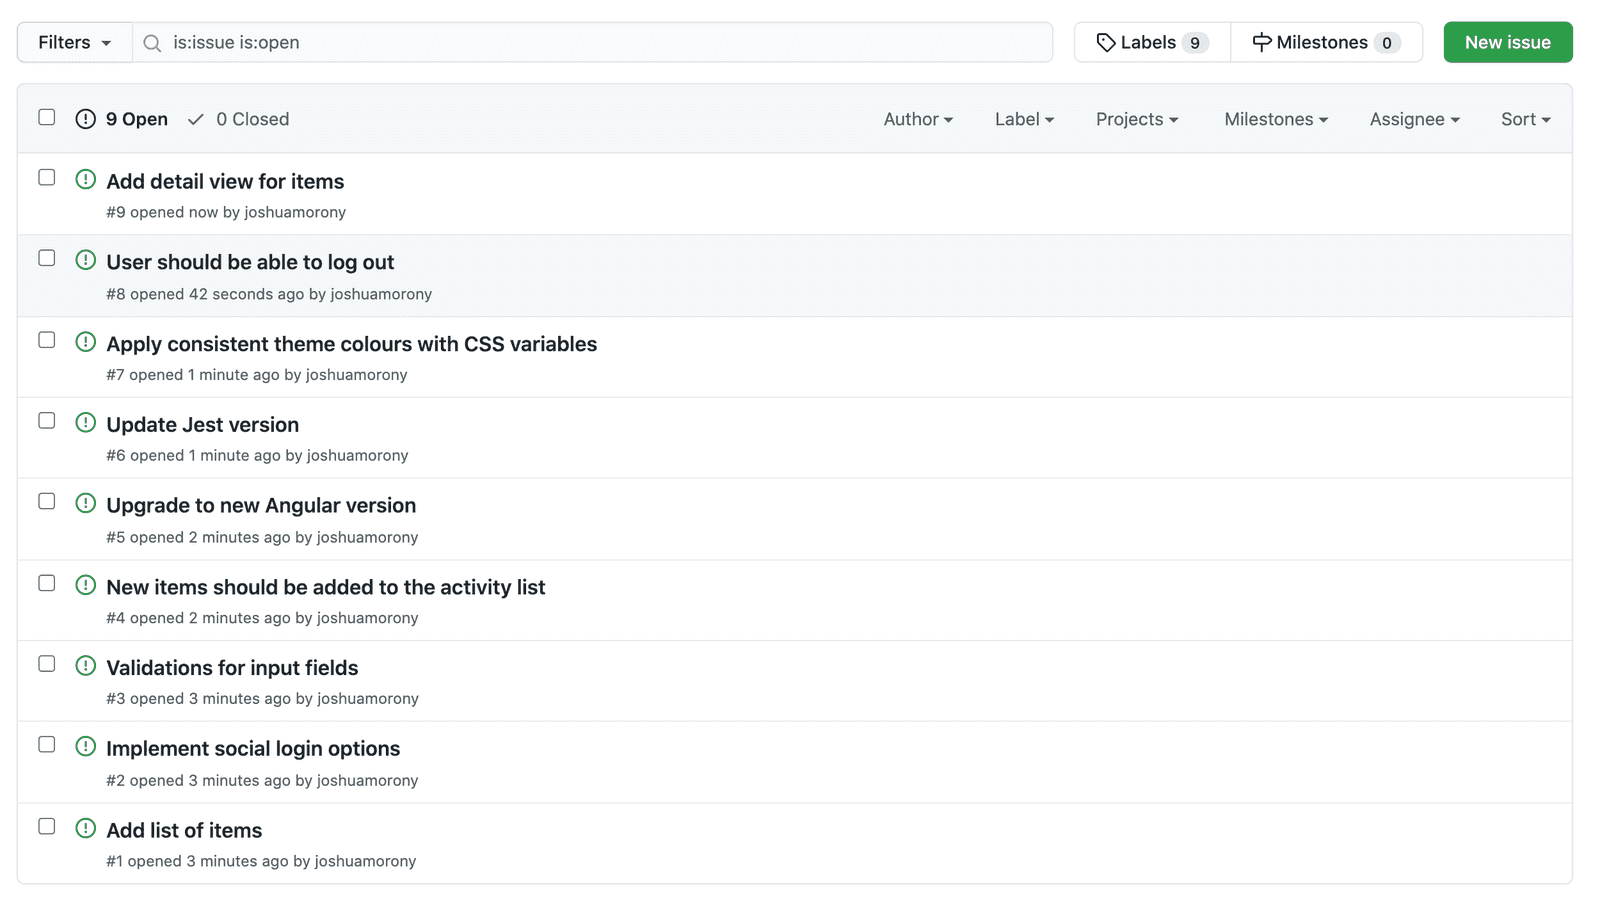
- All work is defined in issues that will describe features/user stories but also simple tasks like bug fixes and config changes
- New issues are automatically added to a backlog in a Kanban board
- The backlog is sorted by priority (more important items at the top)
- To begin work, you move an issue from the backlog to one of the working columns in the Kanban board
- A new branch is created for work on every issue. Even if it is just a minor config change, every issue gets its own branch (this is generally referred to as Branch-per-Issue or Task Branching)
- Once the work is complete, the branch is merged back into the main branch and the issue is closed (and will automatically be moved to the Done column in the Kanban board)
We will be using GitHub to implement this process, but the same process could be translated to other providers as well.
The main benefits to this approach are:
- The main branch is kept clean and releasable at all times (theoretically)
- The branches contain small well-defined chunks of functionality that will be merged back soon: you don't have massive features living off in their own branch for extended periods of time
- You can easily pick/choose what gets merged into the main branch and released
- You can easily switch between working on different tasks without having the codebase be in a broken/inconsistent state
- Suits both Scrum or Kanban style Agile development
One of the key ideas of Agile development is that we make frequent and incremental releases of the software. This allows for a quick feedback cycle as we can show a subset of working features to stakeholders many times throughout the development lifecycle, which will allow us to adapt and change to feedback and clarifications and improve the development process as we go.
The approach we will be using not only facilitates these frequent and incremental releases - it makes it extremely easy to do because the main branch will always (theoretically) be in a releasable state.
We will be using a Kanban board but we aren't specifically applying the Kanban framework here (which is a specific approach to Agile development), nor will we be strictly implementing Scrum (which is another approach to Agile development). You could implement more processes from either of those Agile frameworks to better suit you and your team, but we are sort of just implementing our own simple approach to Agile development utilising some ideas from both of these approaches.
This process can be used for an individual or small teams. There is nothing wrong with using this process for large teams as well, but large teams will probably want to incorporate more processes and governance controls (and larger teams likely already have their own processes).
This is best for private repositories where every issue added indicates some feature that will be implemented (even if it is just a bug fix or config change). If you have an open source project where issues might be submitted by other people you might want to modify this (perhaps by having some triage process that controls what issues actually get added to the backlog).
Setting up the Kanban
I'm going to keep the outline of this process as simple as possible, including only the things that I think are core to the process. You can add whatever additional bells and whistles (like labels and naming conventions) and additional ideas from Scrum or Kanban that will help you be more productive. Frameworks like Scrum and Kanban are not designed to be strictly adhered to, it is always better to adapt these processes to best support whatever makes you/your team most productive (but you should strictly adhere to whatever process you create).
Before we begin, you should create a new private repository on GitHub and push the project we just created up to it, e.g:
git remote add origin [email protected]:YOURUSERNAME/YOURPOJECT.git
git branch -M main
git push -u origin main
Although I won't be talking about it in his module, I like to use the GitHub CLI for a lot of operations related to GitHub. It allows you to do things like create repos and issues directly from your terminal.
Once you have your project pushed up to GitHub we are going to complete the following steps:
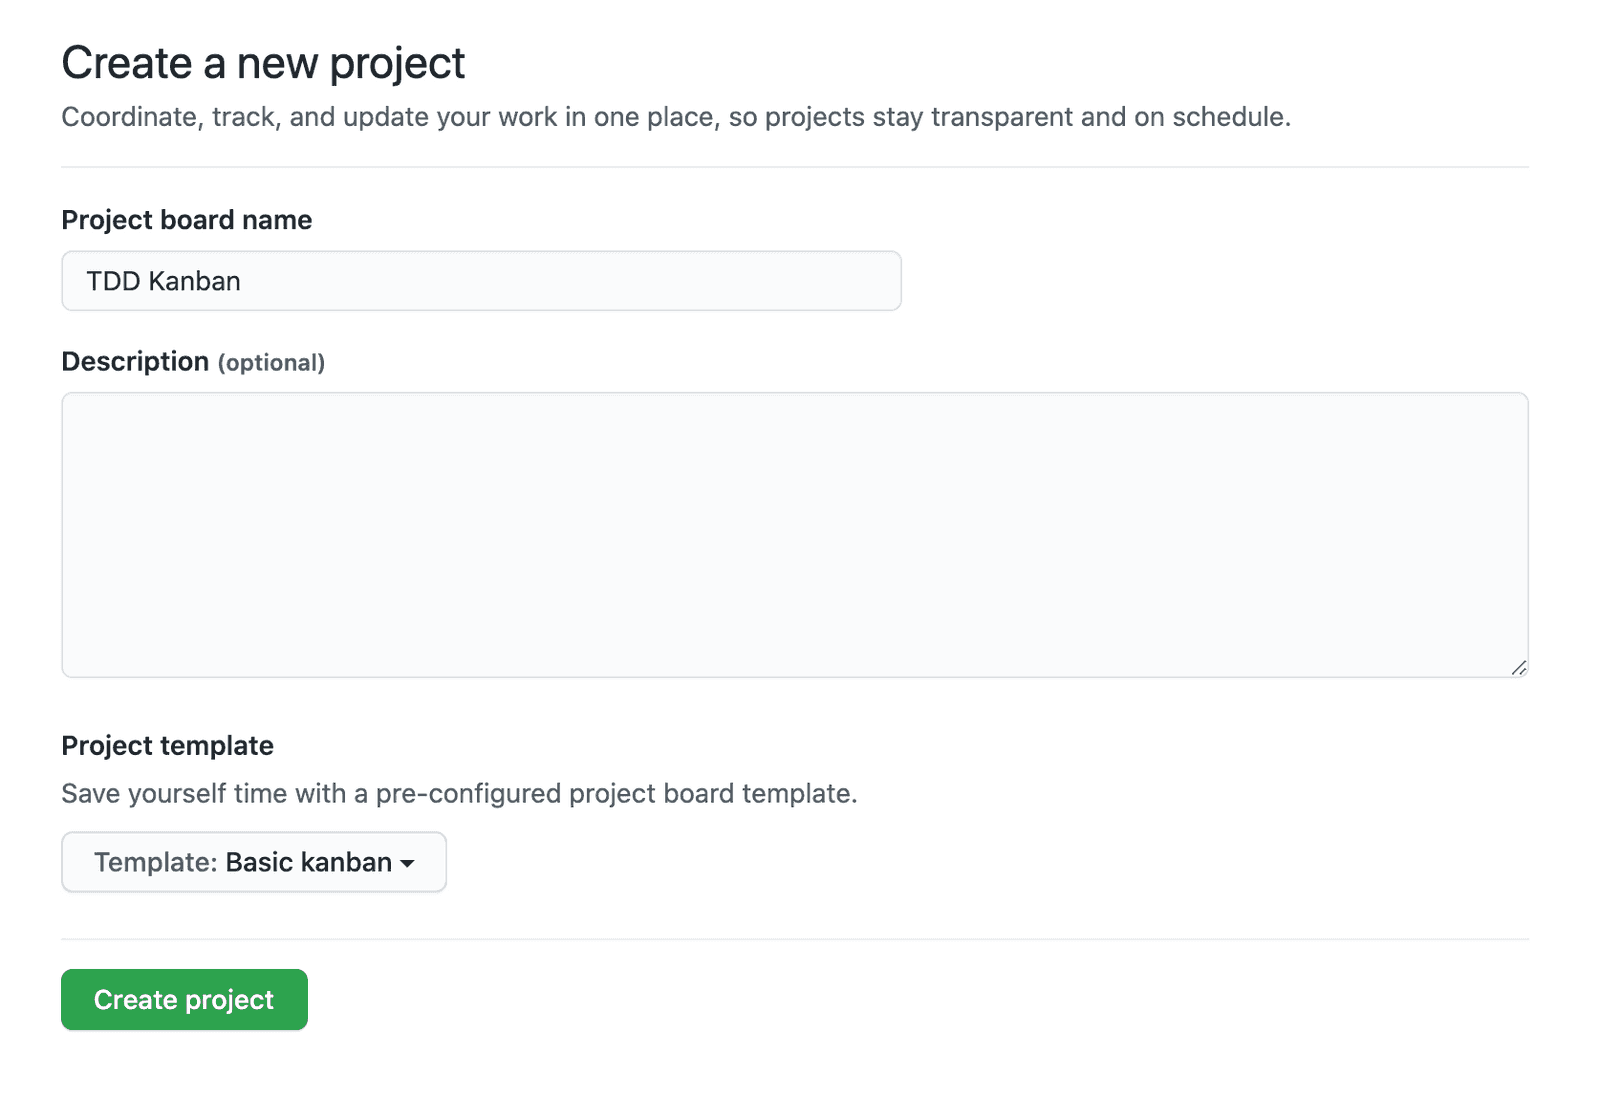
- Go to the Projects tab in your Github repository and click New Project (don't use the beta version of Projects):
- Create your project using the
Basic kanbantemplate - Delete all the notes in the
To docolumn - Now we are going to rename the Kanban columns to suit our needs, exactly how these are named will depend on your testing strategy
If you are using Test Driven Development set up the following columns:
- Backlog | Test | Code | Refactor | Done
If you are using automated tests but not using TDD set up the following columns:
- Backlog | Code | Test | Refactor | Done
If you are not using automated tests at all set up the following columns:
- Backlog | Code | Refactor | Done
This is a good spot to modify the columns to best suit your own workflow. For example, if you are working in a team or have access to someone who could perform a code review for you, you might add an additional Peer Review/Code Review column before the Refactor column.
- Click the more options button on the Backlog column and choose
Manage automation - Use the
Todopreset and select theNewly addedandReopenedoptions for Move issues here when...
Thanks for checking out the preview of this lesson!
You do not have the appropriate membership to view the full lesson. If you would like full access to this module you can view membership options (or log in if you are already have an appropriate membership).


