
Refactoring an Ionic Application into Reuseable Nx Libraries
Once you start getting into Nx you will probably come across this idea of putting everything into libraries, and the app itself just becomes this super lightweight shell.
An absolutely fantastic example of this is the angular-spotify repo that Trung Vo created along with some contributions from others. Just go quickly click through that repo now for some initial context, and you might also want to actually take a look at the live demo. Compare how complex the application is with how little code is in the actual "app" in the repo.
If you're new to this style of code organisation it's totally weird, it's hard to even piece together a mental model of how it all works or how you would do something similar in your own apps.
I thought it would be useful to walk through refactoring a basic bare bones Ionic and Angular application into this highly optimised Nx library structure. I've filmed a video of myself quickly going through this process; I would recommend watching it first to give you a general overview of the concepts:
In this tutorial, we are going to cover some of those concepts in a little more depth.
Outline
Source codeCreating an Nx Workspace
To begin, we are going to create a new Nx workspace with the following command:
npx create-nx-workspaceYou can name your workspace nx-ionic or anything else that you prefer - just create a blank workspace when asked. Next, we are going to install the @nxtend/ionic-angular plugin. This is an Nx plugin that will allow us to generate Ionic/Angular applications inside of our Nx workspace.
npm install --save-dev @nxtend/ionic-angularFinally, we will use that plugin to generate a blank Ionic application:
nx generate @nxtend/ionic-angular:application nx-ionic-mobileWe are creating an app called nx-ionic-mobile which will contain the mobile version of our app. We aren't doing this right now, but we might also later want to create a web version of this app. Since we will be building all of the components and services for our application into libraries, we will easily be able to share code between both of the applications.
If we are going with the fully maxed out and optimised Nx approach, we pretty much want everything to be in libraries - the apps themselves will just be a simple shell or container that pulls in stuff from the libraries.
This can be a hard paradigm shift to come to terms with in Nx, you don't have to do it this way, but it probably is the best way to do it in order to fully utilise Nx.
Even if we are just building a single application in this workspace, I think there still are benefits to using this heavy library approach. There are benefits for potential code reuse in the future, but the main benefit from my point of view (at least in terms of a single app workspace) is the guard rails this approach gives you in creating a highly organised and maintainable project.
There is an argument to be made for not over engineering things that don't need it, but what needs it can be hard to know beforehand. I know that I've been bitten more times by engineering something haphazardly than I have been by prematurely optimising something (which is never). That's why in my opinion when you're in doubt you should err on the side of over engineering (and I mean over engineering in a good sense here, not making things unnecessarily complex or confusing just so the code looks more "clever").
If you embrace this approach, and more or less just use it by default, you don't have to worry so much about if you're doing something the right way and can just focus on building your app in a clean and optimised way. After the initial learning curve, it doesn't even take much more time if any to code this way.
Refactoring the Home page into a library
We have an Ionic application generated inside of our Nx workspace. This is just a simple blank application, but even with just this basic set up we have too much code in our application that should be in libraries. Let's refactor everything we need out into libraries. We will just do a little bit at a time.
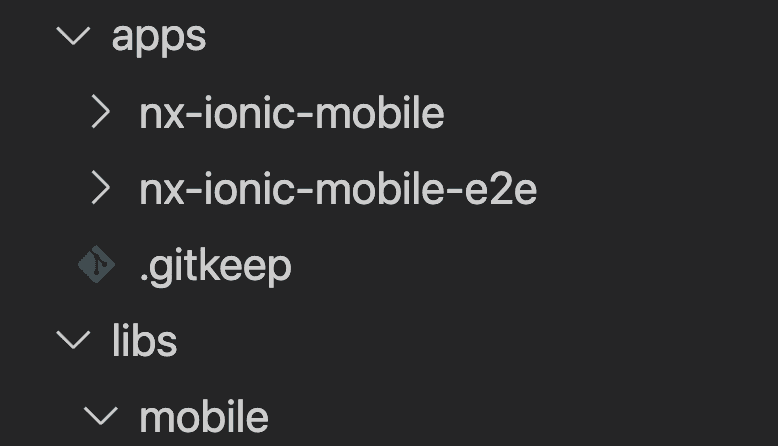
We will first create a folder inside of the libs folder called mobile. When creating libraries with Nx, it's important to understand that we can just create normal folders to help organise the scope of our library folders - we call these grouping folders. They don't do anything special, they just group things together like a normal folder does.
As well as grouping folders - as you will see in a moment - we also generate libraries. These will also be in their own folders, but they are generated by Nx and allow us to share and publish the contents of the folder, e.g. a particular component or service. We can generate a library at the root level of our libs folder, or we might create the library within one of our grouping folders (like the one we just created).
So, we have our mobile folder - a grouping folder - and we are going to use that to contain all of the libraries for our mobile app. Later, we might move some libraries out of this folder into a shared folder (e.g. libs/shared) so that it can be used by multiple apps, but for now we only have our single mobile application.
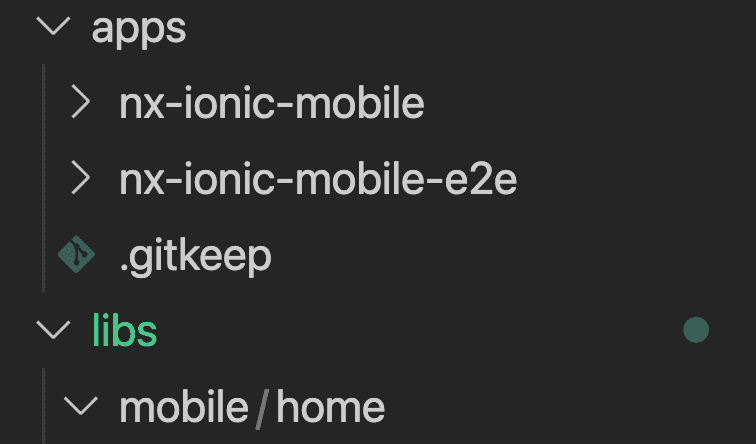
Now we are going to create another folder inside of mobile for our home page - we will call it home. Again, this is just a normal folder:
Now it's time to actually generate a library. If we are adhering to Nx best practices there are 4 different types of libraries we might create, these are:
feature- holds smart components, for example components with business logic and injected servicesui- holds dumb components that are mostly presentational and just interact with inputs/outputsdata-access- holds things like our services for accessing data, or NgRx files, or anything else related to accessing datautils- holds things like simple helper functions
But keep in mind that this is just a naming convention, there isn't anything special about the different types of libraries except that it is generally a good way to break things up into roles.
The home page component we are refactoring would be considered a smart component, so we will create a feature library. It actually is just a simple presentational component right now (i.e. it is just an empty component) - but we intend to add smart features to it so we will structure our workspace with that in mind.
We could generate this through the command line, but I like to use the Nx Console extension to make running Nx commands a bit easier - there are a lot of commands and they are quite long.
At the beginning of this tutorial we just created a blank Nx workspace, so in order to use the Angular library generators we will need to install the @nrwl/angular package:
npm install @nrwl/angularIf you don't want to use Nx Console then you can just use this command to manually generate the library:
npx nx generate @nrwl/workspace:library --name=feature --directory=mobile/homeTo use Nx Console we can go to:
- Nx Console > Generate > workspace library
and fill out the options:
We will give this a name of feature because it will be holding our Home component which will be a smart component. We know that this is the "feature" library for the home component because it is located at libs/mobile/home/feature. It's worth noting there are different ways to go about structuring this. If we wanted to have multiple smart components for this feature instead of just the home page itself, we might instead create a feature folder as a grouping folder, and then generate multiple libraries within that to hold each smart component. In this case, rather than calling the library itself feature we would create libraries named after each component inside of the feature grouping folder, e.g:
libs/mobile/home/feature/shelllibs/mobile/home/feature/searchlibs/mobile/home/feature/contact
In this case, feature is just a folder, and the generated libraries are shell, search, and contact. In our example, with just the one smart component, feature is the generated library:
libs/mobile/home/feature
Now les get back to our example. Before running the command with Nx Console, you can check the --dry-run at the bottom of the screen to see if the files that would be generated match your expectations. Once you are satisfied that everything looks fine, you can click the Run button to actually generate the library.
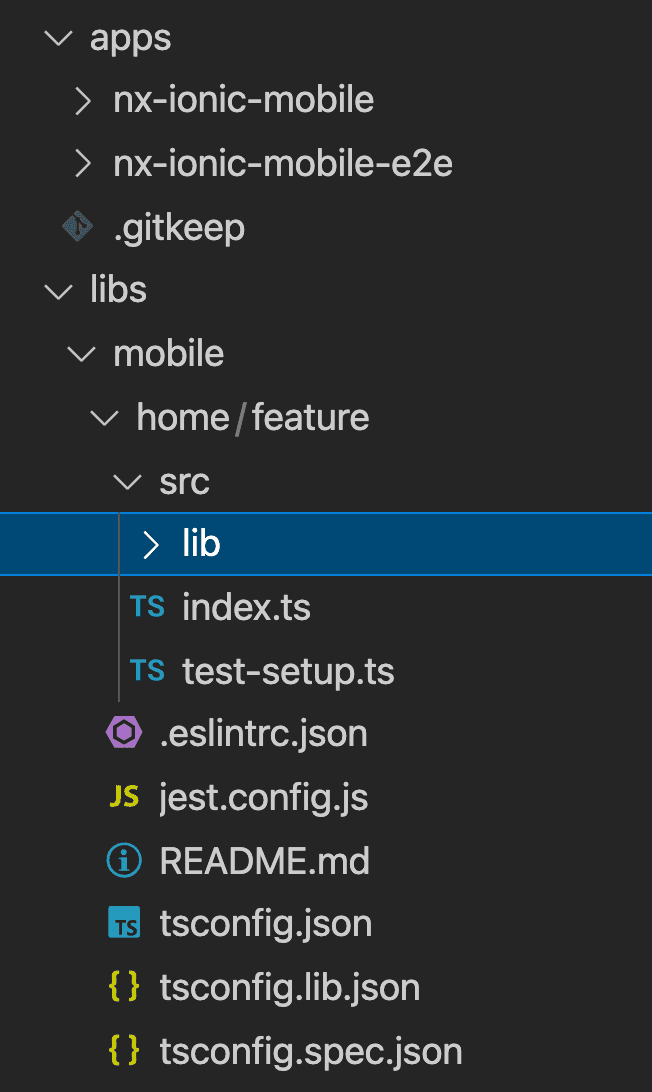
Now we have our first feature library at libs/mobile/home/feature:
There is a lot of Nx stuff going on here to set this up, but the key thing we are interested in is what is inside the lib folder - in this case, it is just a basic Angular module that has been generated for us.
NOTE: When Nx generates a library it doesn't just create the folder, it also configures things elsewhere in your workspace. If you need to delete, move, or rename a library folder make sure you do that using the Nx commands.
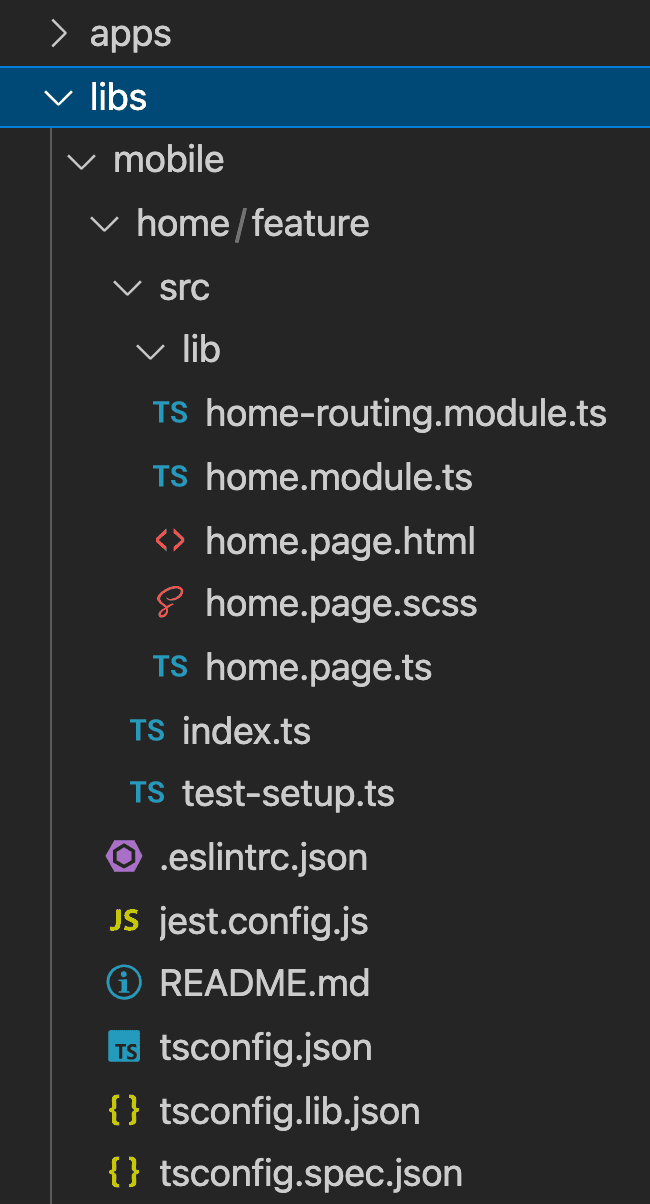
Now our goal is to refactor our existing Home component in the app into this library. First, we are going to delete the auto generated Angular module in the library and move our home files into the library instead:
Note that because of linting rules I have renamed HomePage to HomePageComponent but this isn't strictly required. You can also now completely delete the home folder from the Ionic app. Once we make these changes, we also need to make sure to update the index.ts file in the library to export the correct file (not the auto generated module that we deleted).
Using the Library
That wasn't so bad! But as you might guess, this is going to break our app because we just deleted this entire component. Now we need to use this feature library in our app. Let's see how to do that.
If we go to the apps app-routing.module.ts file we will see it is trying to pull in the module from the place we just deleted it from but it doesn't exist anymore. We need to link it to our library instead.
If you go to your tsconfig.base.json file, you can see that there are paths set up to link to the libraries you create:
"paths": {
  "@nx-ionic/mobile/home/feature": [
    "libs/mobile/home/feature/src/index.ts"
  ]
}
This means that if we want to import from our library, we can just use @nx-ionic/mobile/home/feature. Let's update our routing to reflect this:
  {
    path: 'home',
    loadChildren: () =>
      import('@nx-ionic/mobile/home/feature').then(
        (m) => m.HomePageComponentModule
      ),
  },
At this stage, you can check that everything is still working by serving your application:
nx serve nx-ionic-mobileCreating a Shell Library
Our app is already pretty bare bones now - the one actual feature we had in the app we have now refactored into a library. However, it is also a common pattern to create a library for your application shell which will hold things like the application's routes and the root level imports for your app - things like the routing, storage modules, NgRx modules like store and effects, and so on. Basically the things you would usually put in your app.module.ts file.
Let's do that now! I'm going to give less instruction this time, but the source code is available if you need help.
- Create a grouping folder called shell inside of the
libs/mobilefolder - Use the Nx Console to create a new library inside of the
shellfolder calledfeature - (Optional) Rename the default class name of
MobileShellFeatureModuleto justMobileShellModule - Move the
app-routing.module.tsfile from the app into the library and rename itmobile-shell-routing.module.ts(rename the class names as well)
Now we are going to pull over everything we need from our existing root app module and add it to new shell library. We will still have an app module after this, so not everything is going to be moved.
This is what we are moving into our shell module:
import { NgModule } from '@angular/core';
import { BrowserModule } from '@angular/platform-browser';
import { RouteReuseStrategy } from '@angular/router';
import { MobileShellRoutingModule } from './mobile-shell-routing.module';

import { IonicRouteStrategy } from '@ionic/angular';

@NgModule({
  imports: [BrowserModule, MobileShellRoutingModule],
  providers: [{ provide: RouteReuseStrategy, useClass: IonicRouteStrategy }],
})
export class MobileShellModule {}
and this is what we will be keeping in our apps root module:
import { NgModule } from '@angular/core';
import { IonicModule } from '@ionic/angular';
import { AppComponent } from './app.component';

@NgModule({
  declarations: [AppComponent],
  entryComponents: [],
  imports: [IonicModule.forRoot()],
  bootstrap: [AppComponent],
})
export class AppModule {}
The reason that we have kept the IonicModule here is that our root component is making use of Ionic components. The final thing we need to do is import our shell module into our apps root module. Again, we can just grab the path from tsconfig.base.json if we don't know what it should be:
import { NgModule } from '@angular/core';
import { AppComponent } from './app.component';
import { MobileShellModule } from '@nx-ionic/mobile/shell/feature';

@NgModule({
  declarations: [AppComponent],
  entryComponents: [],
  imports: [IonicModule.forRoot(), MobileShellModule],
  bootstrap: [AppComponent],
})
export class AppModule {}
Again, if you serve your application now hopefully everything will work!
Summary
From this point on, our application will just remain a simple shell - almost nothing will ever need to be added to it with a few exceptions. Most of our development work will take place by adding new libraries, and we can incorporate those features into the app by updating the shell with new routes.
If you would like to learn more about the concepts from this tutorial, I would highly recommend checking out the book Enterprise Monorepo Angular Patterns by Nitin Vericherla and Victor Savkin (from the Nrwl team). This book is where these best practices originated from.


