
Creating Dynamic Angular Forms with JSON
In a project I am working on currently I need to implement the ability to present a questionnaire to users that will be made up of a bunch of different questions (e.g. the kind of form you would fill out when waiting for your appointment with the dentist).
I'm using Angular, and the ReactiveFormsModule has my back, so not really a big deal. But... this questionnaire is likely to change over time. The prospect of going back to modify the Angular form for each change doesn't seem like the best solution to me. Instead I decided to define the form using JSON and then consume that within my application to dynamically render out an Angular form.
The end result is a nice little component that I can just supply my JSON data source to like this:
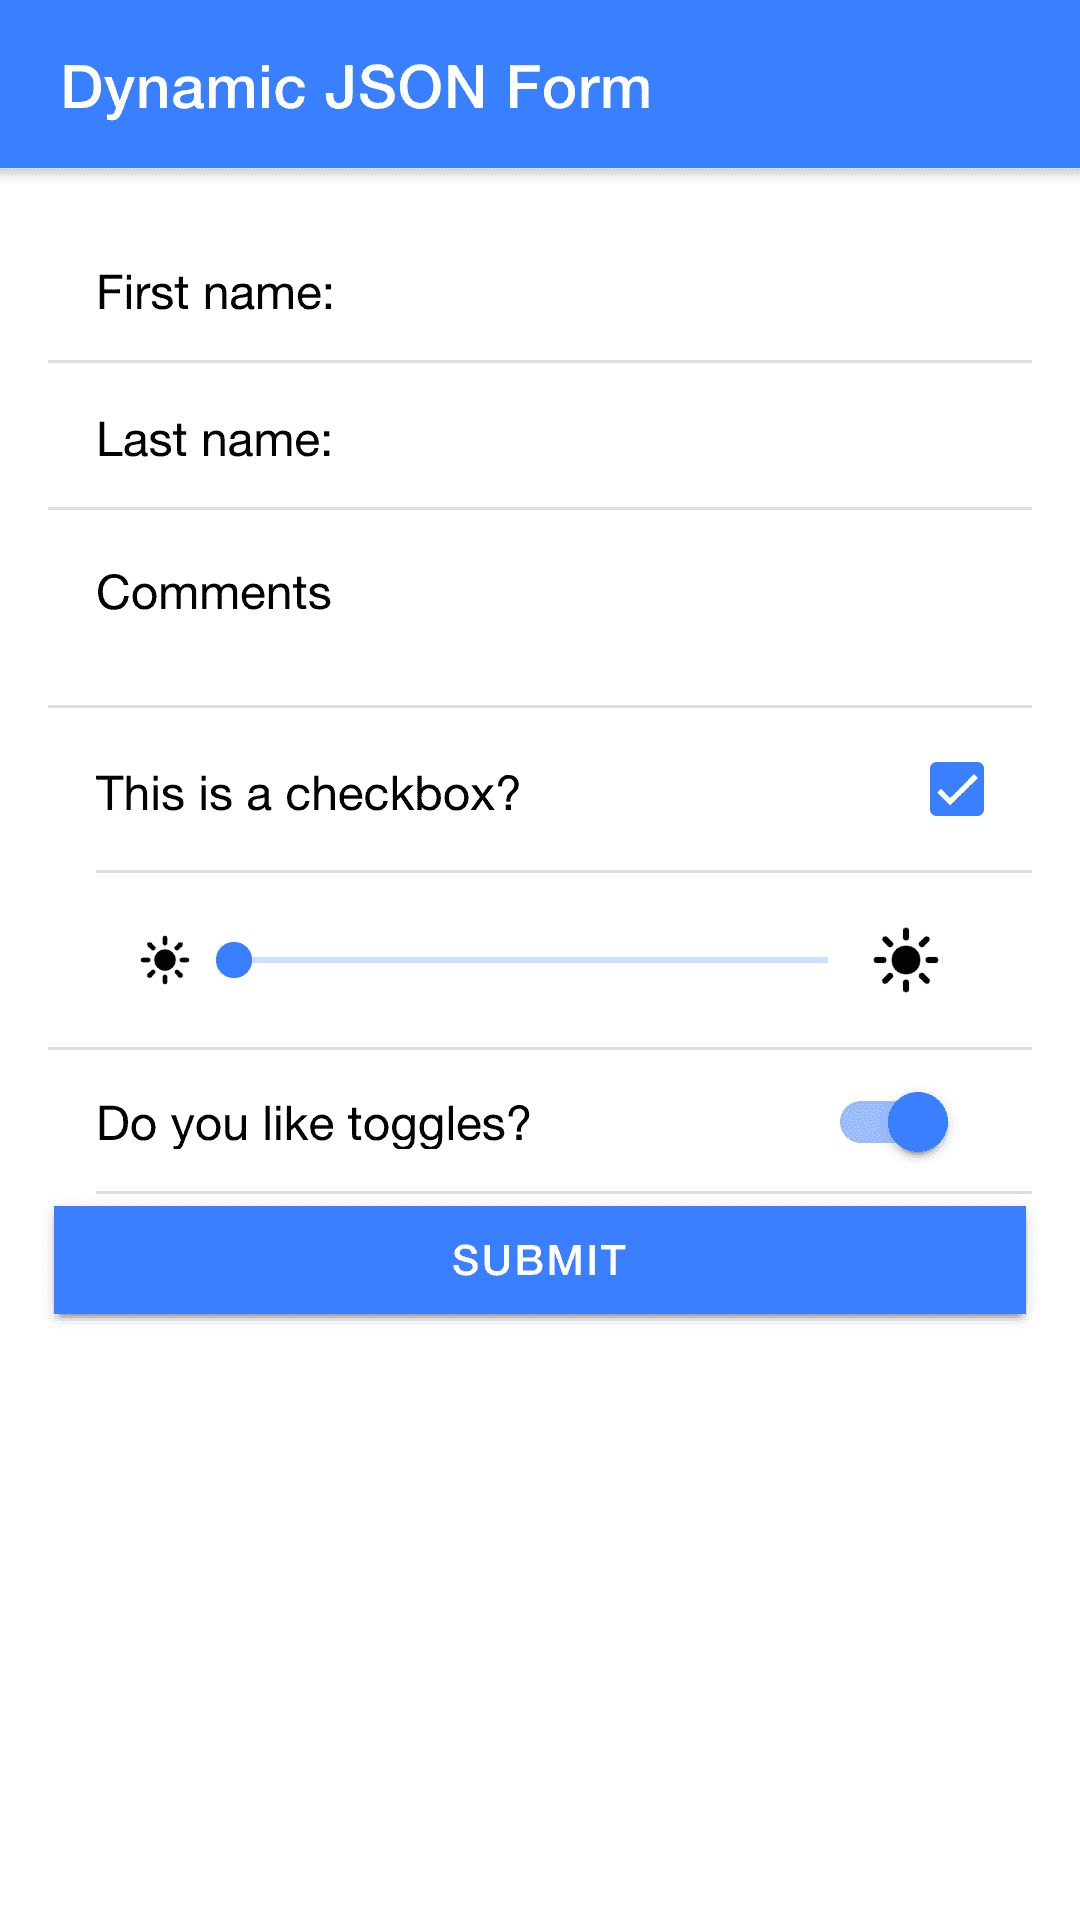
<app-json-form [jsonFormData]="formData"></app-json-form>Which will generate a form that looks like this:
From a data source that looks like this:
{
  "controls": [
    {
      "name": "firstName",
      "label": "First name:",
      "value": "",
      "type": "text",
      "validators": {
        "required": true,
        "minLength": 10
      }
    },
    {
      "name": "lastName",
      "label": "Last name:",
      "value": "",
      "type": "text",
      "validators": {}
    },
    {
      "name": "comments",
      "label": "Comments",
      "value": "",
      "type": "textarea",
      "validators": {}
    },
    {
      "name": "agreeTerms",
      "label": "This is a checkbox?",
      "value": "false",
      "type": "checkbox",
      "validators": {}
    },
    {
      "name": "size",
      "label": "",
      "value": "",
      "type": "range",
      "options": {
        "min": "0",
        "max": "100",
        "step": "1",
        "icon": "sunny"
      },
      "validators": {}
    },
    {
      "name": "lightDark",
      "label": "Do you like toggles?",
      "value": "false",
      "type": "toggle",
      "validators": {}
    }
  ]
}
Complete with the option to specify validators in JSON as well!
Although we are specifically loading this data in from a static JSON file, you could use this approach to consume JSON data from anywhere and render it as a form. You could also modify the approach to use different types of data sources, the general concepts will apply regardless.
You can check out a video overview of this tutorial on YouTube: Create a Dynamic Reactive Angular Form with JSON.
Outline
Source codeSet up the JSON data source
First of all, we need some data to work with! You can copy the data I pasted above or supply your own and create a file inside of the src/assets folder (assuming you are building this inside of an Ionic application) called my-form.json. You don't have to follow the exact structure I am using, but if you do deviate from it you will need to make adjustments in the code as we continue.
Create a file at
src/assets/my-form.jsonand add JSON data following the format above
Create a new component
To create the component you will need to run the following command:
ionic g component components/JsonFormSince we want to supply the component with an input of jsonFormData we will need to set that up.
Modify src/app/components/json-form/json-form.component.ts to reflect the following:
import { Component, OnInit, Input } from '@angular/core';

@Component({
  selector: 'app-json-form',
  templateUrl: './json-form.component.html',
  styleUrls: ['./json-form.component.scss'],
  changeDetection: ChangeDetectionStrategy.OnPush,
})
export class JsonFormComponent implements OnInit {
  @Input() jsonFormData: any;

  constructor() {}

  ngOnInit() {}
}
We could just use the any type for our form data, but we do have a rigid structure defined for our data and if we deviate from that it is going to cause complications. If we had some interfaces to define the structure of our data more rigidly we can ensure that we are working with the type of data we are expecting, and if we are using something like VS Code we will have useful auto-completion hints with IntelliSense.
Modify src/app/components/json-form/json-form.component.ts to reflect the following:
import { Component, OnInit, Input } from '@angular/core';

interface JsonFormValidators {
  min?: number;
  max?: number;
  required?: boolean;
  requiredTrue?: boolean;
  email?: boolean;
  minLength?: boolean;
  maxLength?: boolean;
  pattern?: string;
  nullValidator?: boolean;
}

interface JsonFormControlOptions {
  min?: string;
  max?: string;
  step?: string;
  icon?: string;
}

interface JsonFormControls {
  name: string;
  label: string;
  value: string;
  type: string;
  options?: JsonFormControlOptions;
  required: boolean;
  validators: JsonFormValidators;
}

export interface JsonFormData {
  controls: JsonFormControls[];
}

@Component({
  selector: 'app-json-form',
  templateUrl: './json-form.component.html',
  styleUrls: ['./json-form.component.scss'],
  changeDetection: ChangeDetectionStrategy.OnPush,
})
export class JsonFormComponent implements OnInit {

  @Input() jsonFormData: JsonFormData;

  constructor() { }

  ngOnInit() {}

}
TIP: Not sure about the OnPush change detection strategy? Check out How Immutable Data Can Make Your Ionic Apps Faster.
If you're not familiar with creating interfaces like this yourself, you can use a tool like transform.tools which will allow you to paste in your JSON data and it will automatically generate TypeScript interfaces for you (you might still need to tweak which fields should be optional depending on what you want).
Notice that we export the JsonFormData interface, this is because we are going to make use of that interface on our home page where we are loading the data.
Pass JSON data into the component
Before we implement all the form logic, we want to make sure that we can actually load and pass in the JSON data to our component. We will be implementing the component on the home page so we need to add a few things to our home page module:
- The
HttpClientModule - The
ReactiveFormsModule - Our
JsonFormComponent
Let's set those up now.
Modify src/app/home/home.module.ts to reflect the following:
import { NgModule } from '@angular/core';
import { CommonModule } from '@angular/common';
import { HttpClientModule } from '@angular/common/http';
import { IonicModule } from '@ionic/angular';
import { ReactiveFormsModule } from '@angular/forms';
import { HomePage } from './home.page';

import { HomePageRoutingModule } from './home-routing.module';
import { JsonFormComponent } from '../components/json-form/json-form.component';

@NgModule({
  imports: [
    CommonModule,
    ReactiveFormsModule,
    IonicModule,
    HomePageRoutingModule,
    HttpClientModule,
  ],
  declarations: [HomePage, JsonFormComponent],
})
export class HomePageModule {}
To load in the JSON data required for our component, we will make an HTTP request inside of our home page's ngOnInit lifecycle hook.
Modify src/app/home/home.page.ts to reflect the following:
import { Component, OnInit } from '@angular/core';
import { HttpClient } from '@angular/common/http';
import { JsonFormData } from '../components/json-form/json-form.component';

@Component({
  selector: 'app-home',
  templateUrl: 'home.page.html',
  styleUrls: ['home.page.scss'],
})
export class HomePage implements OnInit {
  public formData: JsonFormData;

  constructor(private http: HttpClient) {}

  ngOnInit() {
    this.http
      .get('/assets/my-form.json')
      .subscribe((formData: JsonFormData) => {
        this.formData = formData;
      });
  }
}
Now we just need to supply that data to the JsonFormComponent in the template.
Modify src/app/home/home.page.html to reflect the following:
<ion-header>
  <ion-toolbar color="primary">
    <ion-title> Dynamic JSON Form </ion-title>
  </ion-toolbar>
</ion-header>

<ion-content class="ion-padding">
  <app-json-form [jsonFormData]="formData"></app-json-form>
</ion-content>
To check that the data is being passed in successfully, we are going to modify our JsonFormComponent to log out the data it is receiving as an input.
Modify src/app/components/json-form/json-form.component.ts to implement the following
ngOnChangeslifecycle hook:
import {
  Component,
  OnChanges,
  Input,
  ChangeDetectionStrategy,
  SimpleChanges,
} from '@angular/core';
export class JsonFormComponent implements OnChanges {
@Input() jsonFormData: JsonFormData;
constructor() { }
ngOnChanges(changes: SimpleChanges) {
if (!changes.jsonFormData.firstChange) {
console.log(this.jsonFormData);
}
}
}The reason that we use OnChanges instead of OnInit is because this will allow us to detect when the @Input changes. Since our data is being loaded in via an HTTP request, it won't be immediately available. We also check that this is not the firstChange for the input, as Angular will also fire this hook when the component is first being initialised (at which point we won't actually have the data yet).
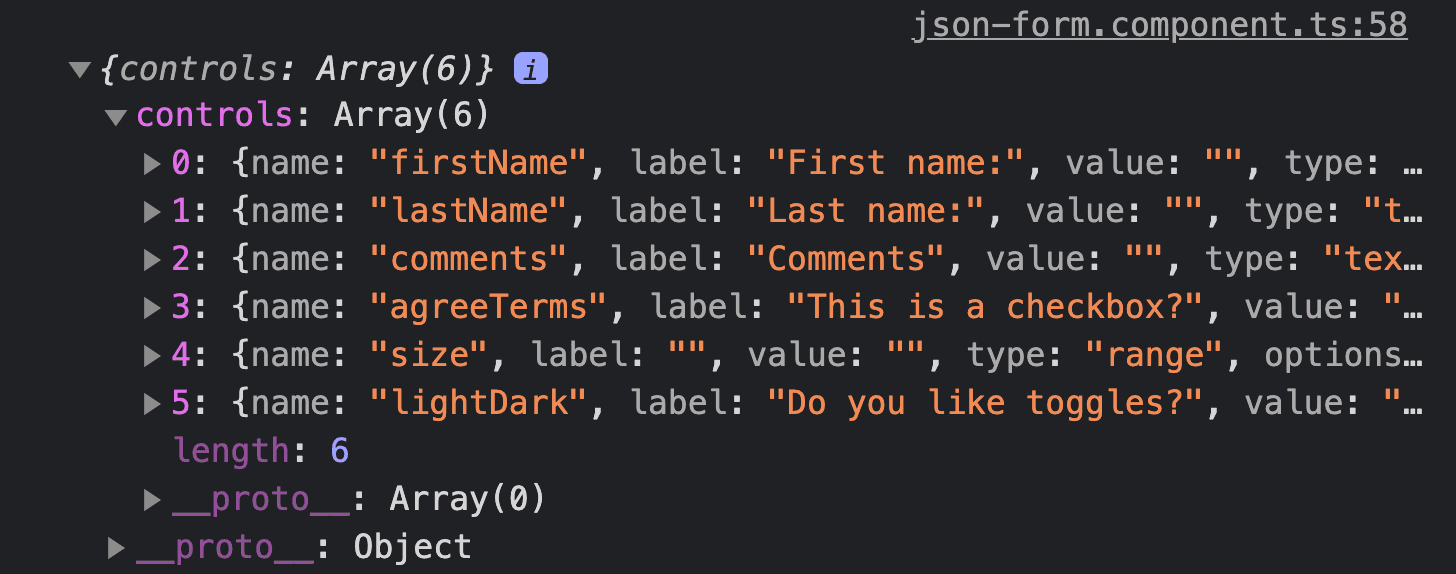
If we open up the console, we should see that the data for the form is being logged out:
Creating the Reactive form from the JSON data
I will paste the full code in a moment, but let's talk through the basics of what we are doing first. To turn that data into a reactive form we will first create a new FormGroup with FormBuilder:
public myForm: FormGroup = this.fb.group({});

constructor(private fb: FormBuilder) {}
and then we will dynamically add controls to that group by looping over the JSON data:
createForm(controls: JsonFormControls[]){
     for (const control of controls) {
        this.myForm.addControl(control.name)
     }
}
This is a reasonably simple and clean approach, but if we want to support validators we are going to have to add in some additional logic to map our JSON data to the validators they represent. We will do this by checking each validator key from our JSON data source, and then pushing the matching Validator into an array. We can then supply that array when we add the additional controls:
this.myForm.addControl(
  control.name,
  this.fb.control(control.value, validatorsToAdd)
);
Let's put it all together.
Modify src/app/components/json-form/json-form.component.ts to reflect the following:
import {
  Component,
  OnChanges,
  Input,
  ChangeDetectionStrategy,
  SimpleChanges,
} from '@angular/core';
import { FormGroup, FormBuilder, Validators } from '@angular/forms';

interface JsonFormValidators {
  min?: number;
  max?: number;
  required?: boolean;
  requiredTrue?: boolean;
  email?: boolean;
  minLength?: boolean;
  maxLength?: boolean;
  pattern?: string;
  nullValidator?: boolean;
}

interface JsonFormControlOptions {
  min?: string;
  max?: string;
  step?: string;
  icon?: string;
}

interface JsonFormControls {
  name: string;
  label: string;
  value: string;
  type: string;
  options?: JsonFormControlOptions;
  required: boolean;
  validators: JsonFormValidators;
}

export interface JsonFormData {
  controls: JsonFormControls[];
}

@Component({
  selector: 'app-json-form',
  changeDetection: ChangeDetectionStrategy.OnPush,
  templateUrl: './json-form.component.html',
  styleUrls: ['./json-form.component.scss'],
})
export class JsonFormComponent implements OnChanges {
  @Input() jsonFormData: JsonFormData;

  public myForm: FormGroup = this.fb.group({});

  constructor(private fb: FormBuilder) {}

  ngOnChanges(changes: SimpleChanges) {
    if (!changes.jsonFormData.firstChange) {
      this.createForm(this.jsonFormData.controls);
    }
  }

  createForm(controls: JsonFormControls[]) {
    for (const control of controls) {
      const validatorsToAdd = [];

      for (const [key, value] of Object.entries(control.validators)) {
        switch (key) {
          case 'min':
            validatorsToAdd.push(Validators.min(value));
            break;
          case 'max':
            validatorsToAdd.push(Validators.max(value));
            break;
          case 'required':
            if (value) {
              validatorsToAdd.push(Validators.required);
            }
            break;
          case 'requiredTrue':
            if (value) {
              validatorsToAdd.push(Validators.requiredTrue);
            }
            break;
          case 'email':
            if (value) {
              validatorsToAdd.push(Validators.email);
            }
            break;
          case 'minLength':
            validatorsToAdd.push(Validators.minLength(value));
            break;
          case 'maxLength':
            validatorsToAdd.push(Validators.maxLength(value));
            break;
          case 'pattern':
            validatorsToAdd.push(Validators.pattern(value));
            break;
          case 'nullValidator':
            if (value) {
              validatorsToAdd.push(Validators.nullValidator);
            }
            break;
          default:
            break;
        }
      }

      this.myForm.addControl(
        control.name,
        this.fb.control(control.value, validatorsToAdd)
      );
    }
  }

  onSubmit() {
    console.log('Form valid: ', this.myForm.valid);
    console.log('Form values: ', this.myForm.value);
  }
}
This is the completed class for our component. Notice that we have also added an onSubmit handler so we can log out the values from the form.
Rendering form inputs dynamically in the template
Our Reactive form is set up now, but we also need to add inputs to our template that allow us to interact with the form - text inputs, checkboxes, toggles, and so on.
The basic idea is that we will loop over the controls and add an input in the template for each of them:
<form [formGroup]="myForm" (ngSubmit)="onSubmit()">
  <ion-item *ngFor="let control of jsonFormData?.controls">
    <ion-label>{{ control.label }}</ion-label>
    <ion-input
      [type]="control.type"
      [formControlName]="control.name"
      [value]="control.value"
    ></ion-input>
  <ion-button type="submit">Submit</ion-button>
</form>
But, once again, things aren't going to be so simple! If we want to support more than just basic text input we will need to add in some more custom logic to handle those cases (e.g. if we specify a checkbox as the type in our JSON data source).
Modify src/app/components/json-form/json-form.component.html to reflect the following:
<form [formGroup]="myForm" (ngSubmit)="onSubmit()">
  <ion-item *ngFor="let control of jsonFormData?.controls">
    <ion-label *ngIf="control.label !== ''">{{ control.label }}</ion-label>
    <ion-input
      *ngIf="
        [
          'text',
          'password',
          'email',
          'number',
          'search',
          'tel',
          'url'
        ].includes(control.type)
      "
      [type]="control.type"
      [formControlName]="control.name"
      [value]="control.value"
    ></ion-input>
    <ion-textarea
      *ngIf="control.type === 'textarea'"
      [formControlName]="control.name"
      [value]="control.value"
    ></ion-textarea>
    <ion-checkbox
      *ngIf="control.type === 'checkbox'"
      [formControlName]="control.name"
      [checked]="control.value"
    ></ion-checkbox>
    <ion-toggle
      *ngIf="control.type === 'toggle'"
      [formControlName]="control.name"
      [checked]="control.value"
    ></ion-toggle>
    <ion-range
      *ngIf="control.type === 'range'"
      [min]="control.options.min"
      [max]="control.options.max"
      [formControlName]="control.name"
    >
      <ion-icon
        size="small"
        slot="start"
        [name]="control.options.icon"
      ></ion-icon>
      <ion-icon slot="end" [name]="control.options.icon"></ion-icon>
    </ion-range>
  </ion-item>
  <ion-button expand="full" type="submit">Submit</ion-button>
</form>
Our form should now support:
- Any
textinput includingtext,password,email,number,search,tel, andurl - Textareas
- Checkboxes
- Toggles
- Ranges
If you load this up in the browser, it should all work and you should be able to see the resulting values in the console when you submit the form (including the validation state):
Summary
Now we can easily define a form using just JSON data in a single file! You might need to modify the approach here depending on what you need to support (you might need to support additional input types for example) but the basic concept should be relatively straight-forward to extend.


